Randomized element
Create a new Study Element that asks participants to rate what they see in a picture, but use the automated “Pick One” feature to so that half of the participants get one picture and the other half a different picture (a “between subject” study design).
- Create a new “Form” element, call it something like “[Tut] Rate One of Two” and start editing it (see tutorial 1 above for the introduction to this).
- Immediately pick a color theme for this form by clicking on the little “+” next to “Themes” and choosing “Light”.
NOTE
If you want more editing space, you can always collapse the theme picker by clicking on the word “Themes”.
- Rename the default “(Page 1)” section as “Section 1”.
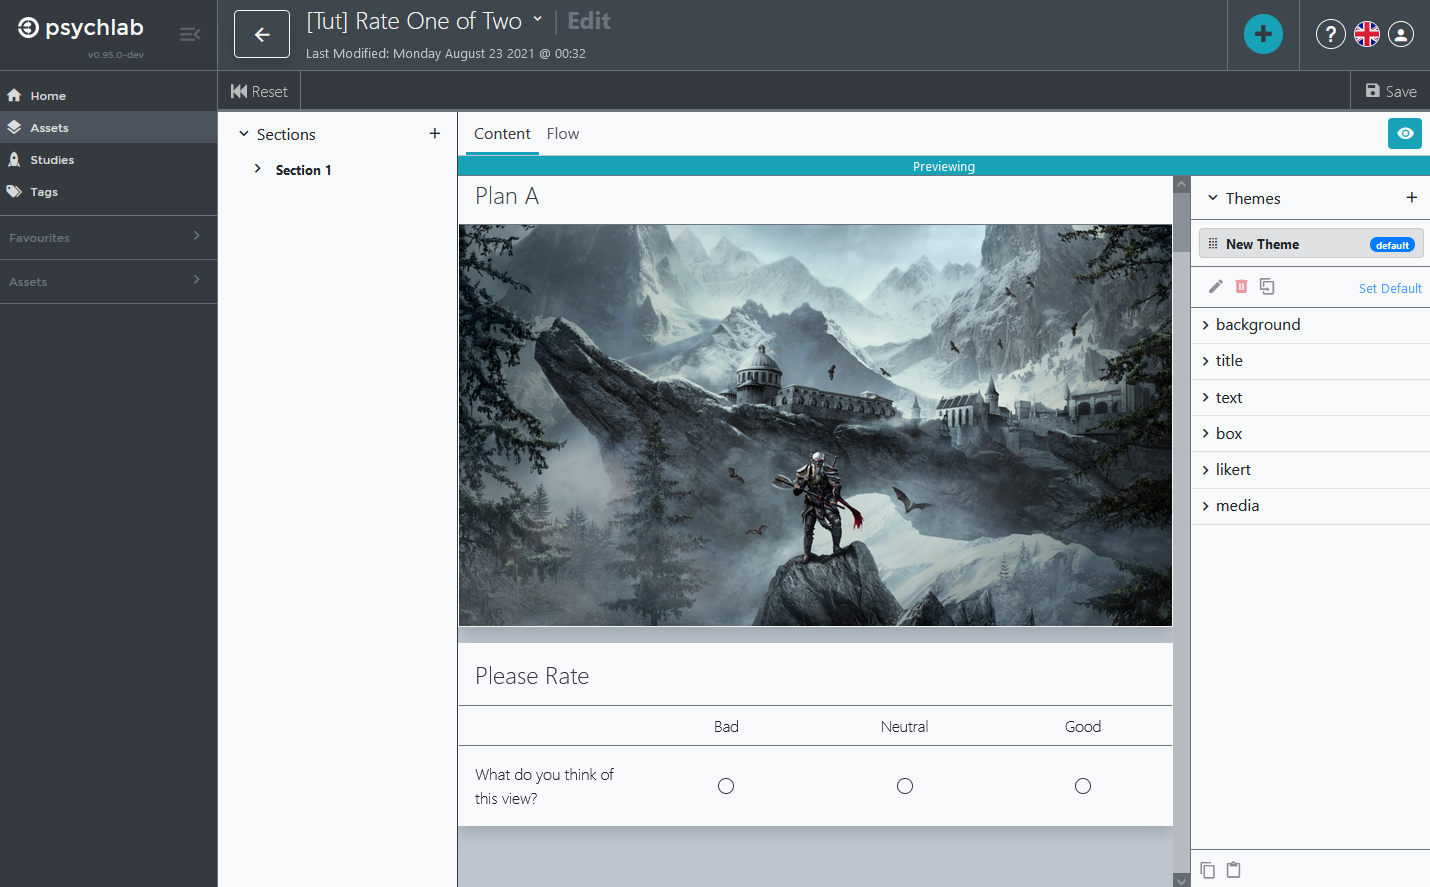
- Add a HTML item to SECTION1 and change the title from “New HTML” to “Plan A”
- Click on the “HTML” block to open the HTML edit box.
- Copy the following HTML code into the empty box and replace the yellow text with a valid URL to an image you want to associate with “Plan A”. Press “Confirm” when done copying and fixing the image URL:
<img width="100%" src="YOUR IMAGE A URL HERE">
NOTE
An HTML node can contain any HTML5 code, which means you could also show videos with the <video> tag or embed even more complex pages with the <iframe> tag.
NOTE
If you are only using images or videos, you can also use the new Image and Video items that let you paste the URLs directly into them without worrying about HTML code.
- Press the large “+” and add a “Linear Scale” item below the image and give it the title “Please Rate”, the three ratings: “Bad”, “Neutral” and “Good”, and the single question “What do you think of this view?” (see tutorial 1 to see how to create a Linear Scale item). The screen should look like this:
- Hover the mouse over the “Section 1” item (if you named it correctly) on the left side and notice the three dots that appear to the right of the name. Click the dots and select “Duplicate”, you should see a “Copy of Section 1” appear. It has the same contents!
- Change the name of this new section from “Copy of Section 1” to “Section 2”.
- Click on “Section 2” item to make sure you are now editing it.
- Change the title of the HTML item from “Plan A” to “Plan B”.
- Change the URL in the HTML item to point to a different picture.
- Make sure to “Save”
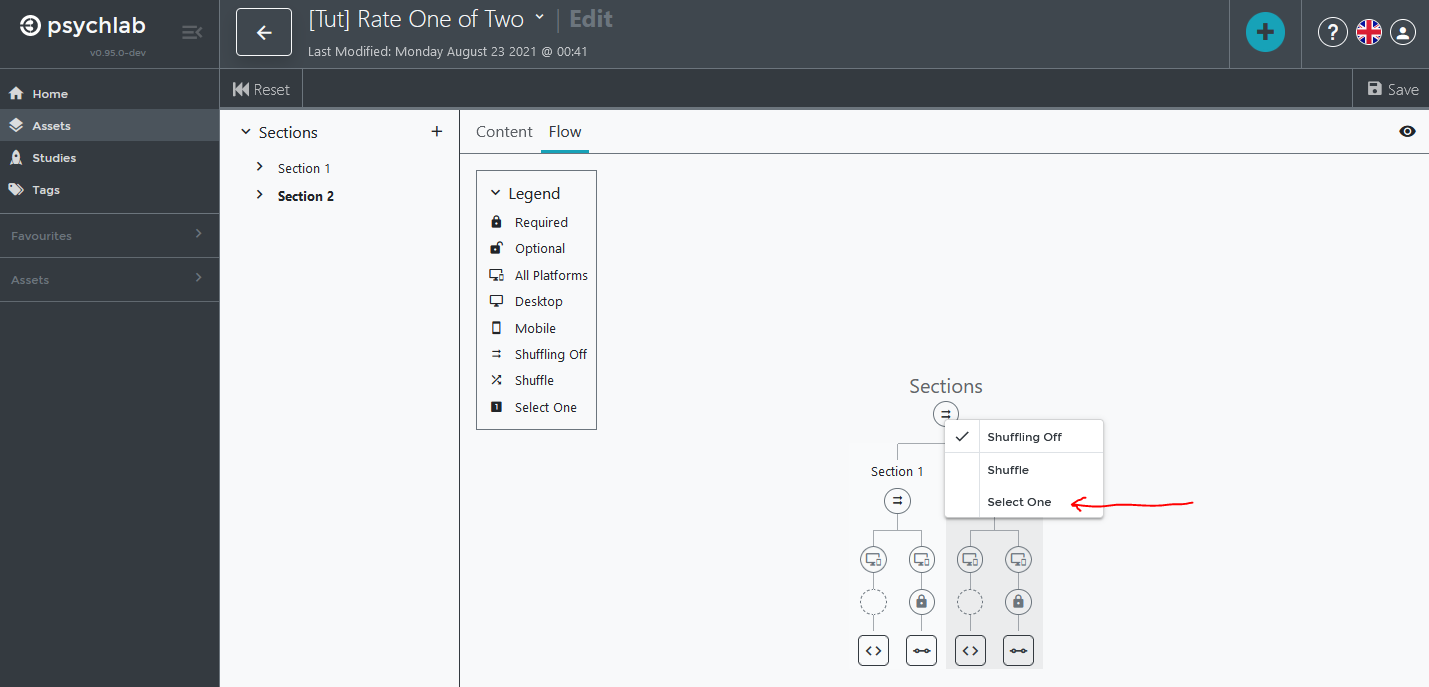
- Switch from editing form “Content” to editing form “Flow” by clicking on “Flow” right above the first form item. You can now click on the “Sections” node and pick “Select One”, which will now let the form pick only one of the sections below it, at random, to display when the form gets run.
- Click on the green “Save” icon in the upper right.
- Close the Form edit screen and return to the Assets area by clicking on the back arrow at the top of the screen (next to the name of your form).