Create theme
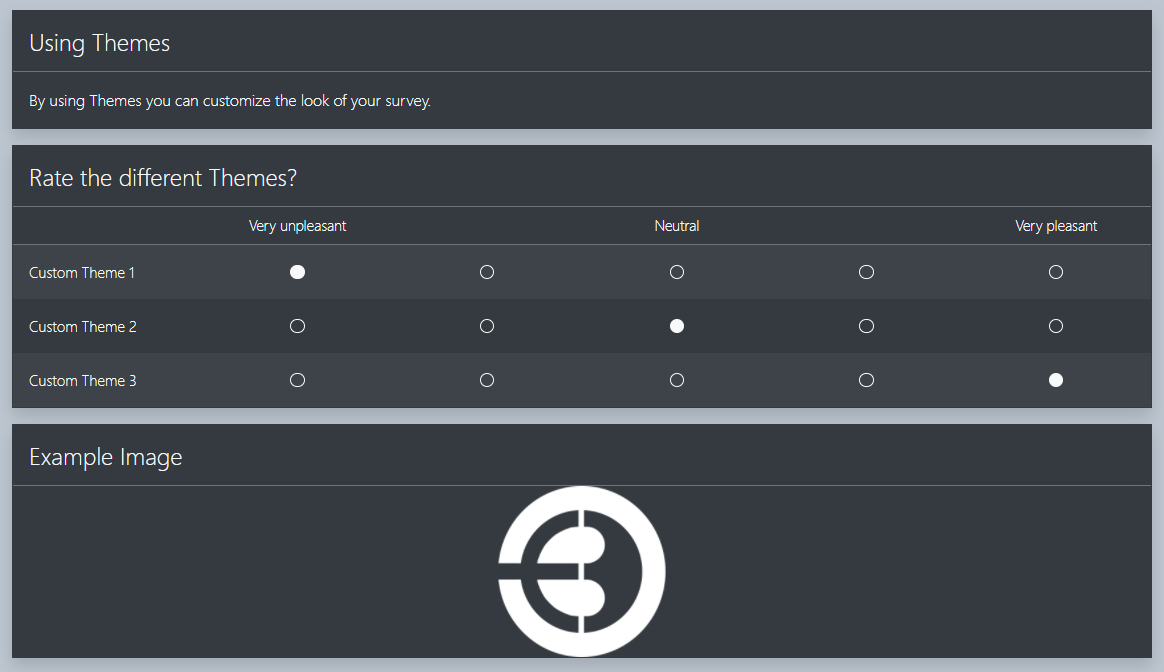
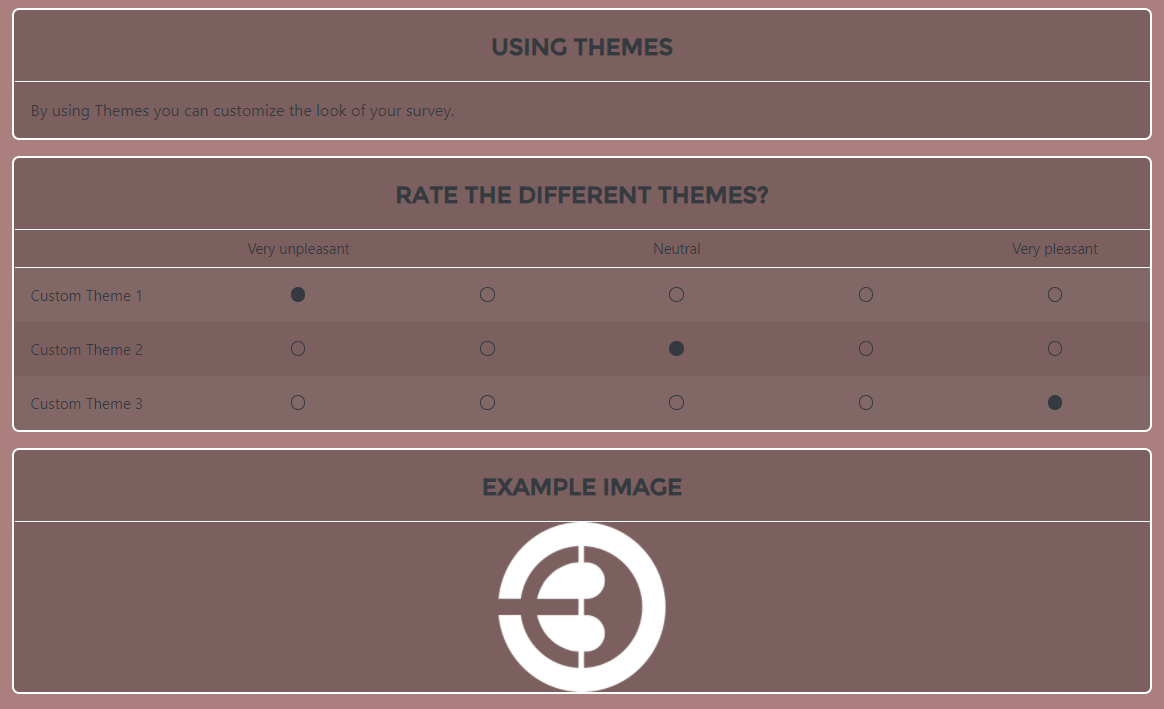
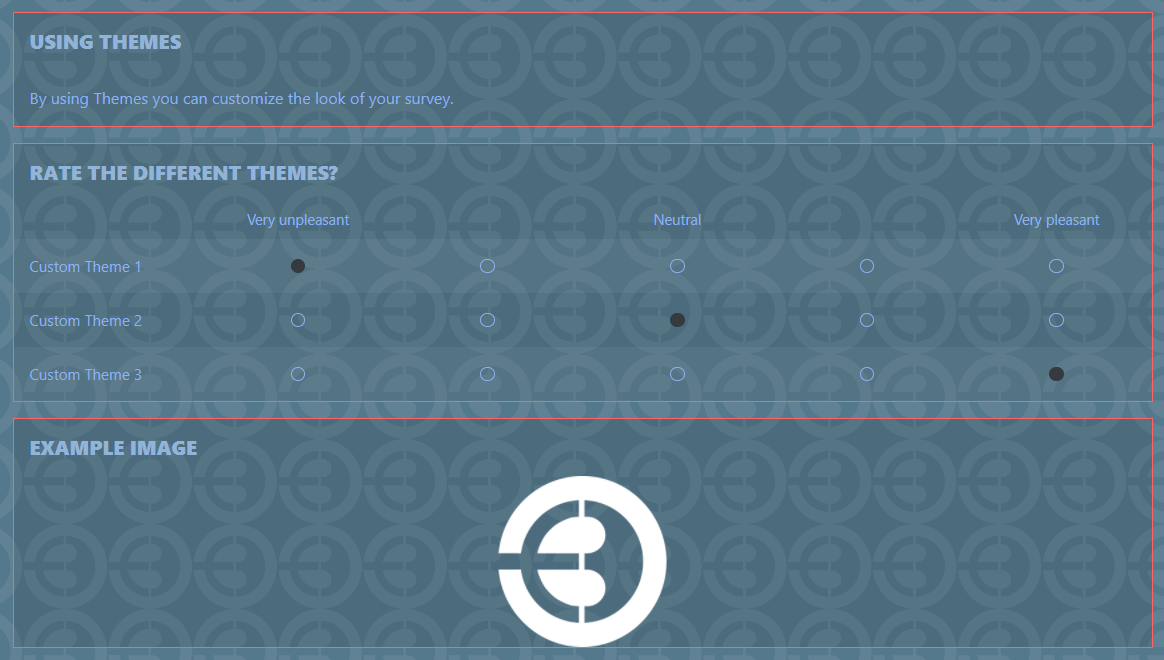
The Theme Settings make it possible to create and assign a custom visual style for your survey. The three images above show the same example Study Element except with different Themes assigned to it. In this tutorial we will create a brand new Theme for this example Study Element.
- Create a new Study Element (as was explained in Tutorial 1)
- Create a “Form” element.
- Give it a name such as “[Theme] Tutorial”.
- Add an “Information” item in the new Study Element.
- Add a “Linear Scale” item in the new Study Element.
- Add an “Image” item in the new Study Element.
- Fill in the items with your own text or use the text shown in the images above, as well as choose an image for the “Image” item.
- Create a new Theme for the Form element.
- Open the Theme Window by clicking on the Theme icon which is located to the right of the Form element’s Preview icon (the Theme icon is circled red in the image below).

- Click on the “+” button where the Theme Window is located (the Theme window is located below the “Preview” button. Clicking the “+” button brings up three possible template Themes, i.e. Simple, Light and Dark. Choose Simple.

- Following the steps in a) should give you this view in the Theme Window (seen in above image).
- You can rename a Theme by double clicking on the “New Theme” text, or click on the “pencil” icon below.
- You can delete a Theme by clicking on the red “trash can” icon which is to the right of the “pencil icon”.
- You can assign a Theme to a Form element by clicking the “Set Default” text. A single Form element can contain multiple Themes, however it can only contain one active Theme which is marked by the text “default”.
- Open the Theme Window by clicking on the Theme icon which is located to the right of the Form element’s Preview icon (the Theme icon is circled red in the image below).